Typeface Academy
Import and use brand assets
Typeface personalizes content using your brand assets. You can leverage your products, graphic icons, documents, and more. This guide covers how to save and use your assets in Typeface.
What are assets
Assets are visual and written artifacts that are unique to your brand. All the content you generate and bring into Typeface is stored in a unified content hub. Typeface can incorporate or repurpose your assets when creating images and copy.
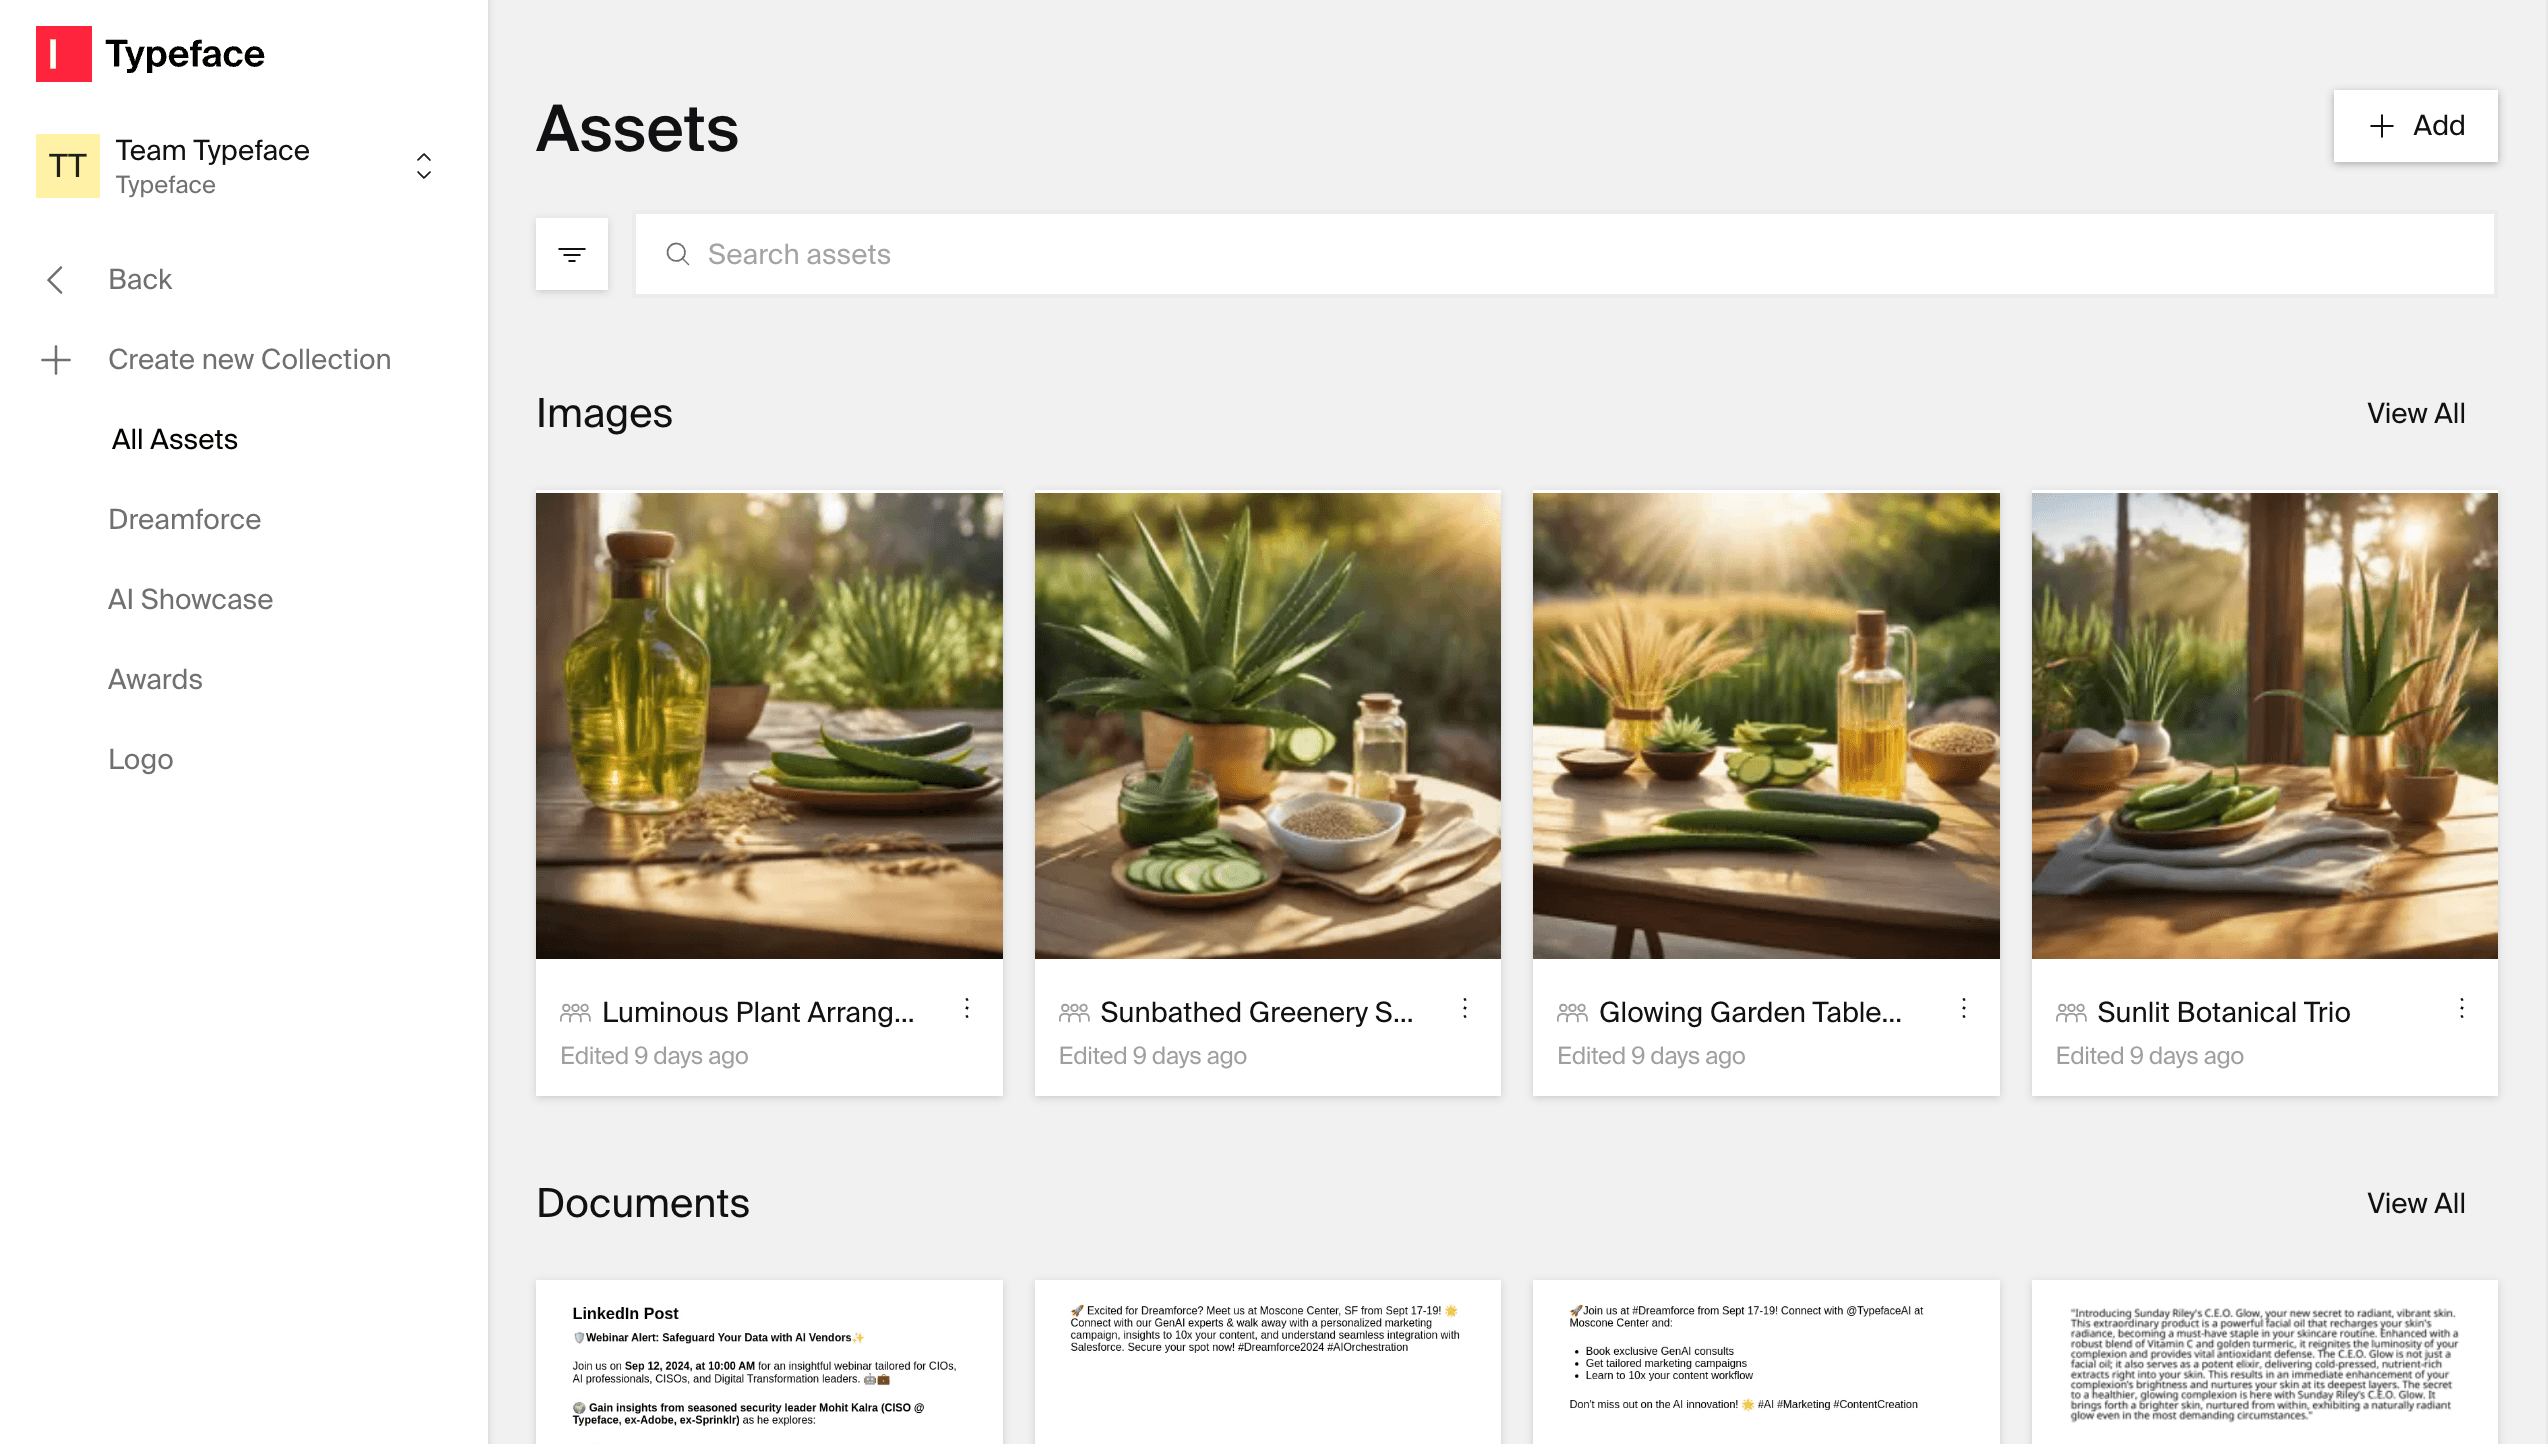
Image asset examples
Product shots
Lifestyle photography
Illustrations
Text asset examples
Whitepapers
Ebooks
Guides
Blogs
FAQs
Importing assets
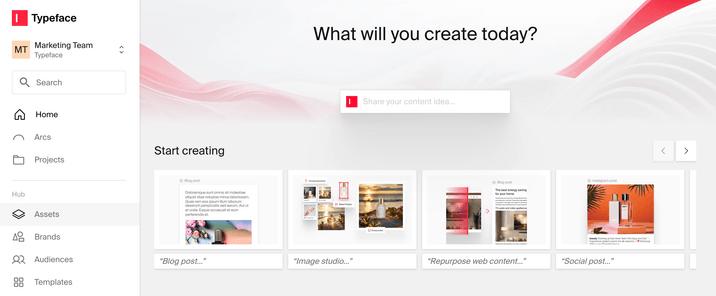
To import an asset, go to the Assets tab on the left side of the homepage.
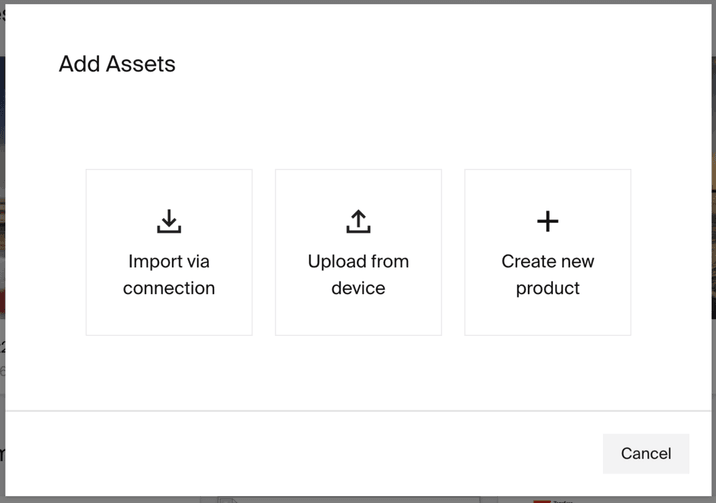
From the Assets tab, here are the steps to import an asset:
Click “+ Add” on the top right
Import via connection or upload from device. If you want to upload and train images of your product, choose "Create new product" (please see the Training Assets section of this guide to learn more).
Select the asset(s) you’d like to add. Typeface supports a 50 MB max file size for assets.
If you are an Enterprise customer, you can import assets via connection. All customers have the option to upload assets from a device.
Tip
Tip
If you're already in the middle of your AI content creation workflow, you can conveniently import assets directly from any template (see "Using assets" section for details).
Organizing assets
Collections help you categorize your assets into a group for easy organization. You can create collections based on your product, campaign, or any custom criteria.
There are two ways to create a collection. One way is to click on “+ Create new collection”. This will create an empty collection.
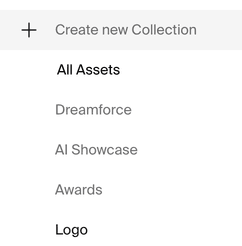
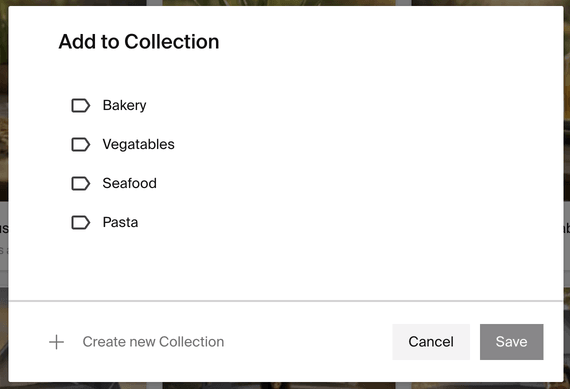
Another way to set up collections is to hover over your assets, select their checkmarks, and click "Add To Collection."

From there, you can add those assets into an existing collection or new one.
Training assets
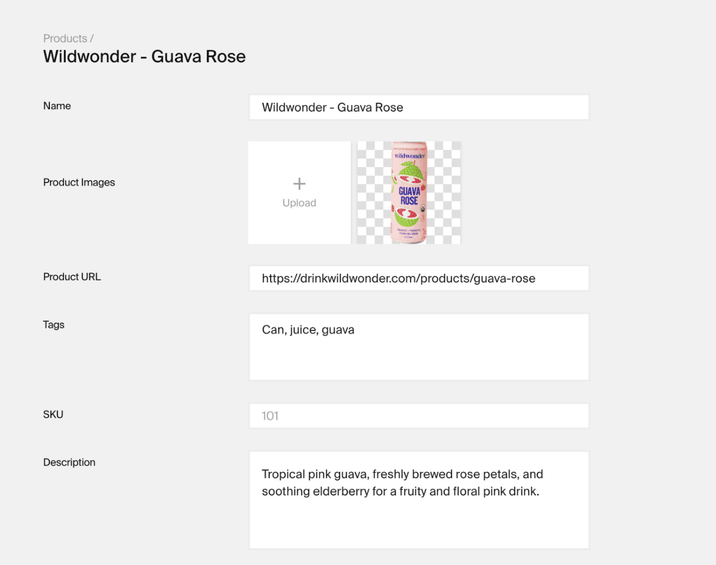
Product assets can be used to train custom models of consumer products (e.g. a branded shampoo bottle). This helps Typeface’s personalized AI realistically portray its product details in any generated background scene. To train a product, click on “+ Add” from the Assets homepage and then click on “Create new product.”
First, add basic product information. Note that all these fields are optional except for the product image. Typeface will auto-extract the product from the image, removing any background scenes.
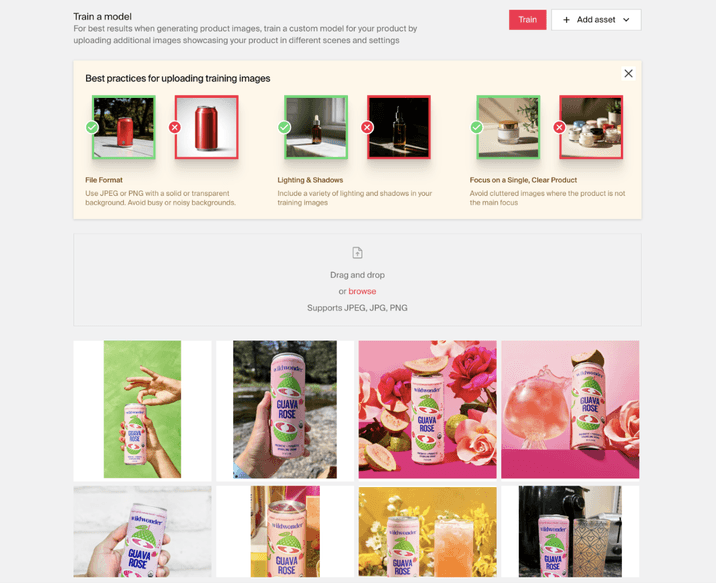
Next, scroll down to the “Train a model” section. Upload 10-15 product images for training. Here are tips on what product images to upload:
Use images that showcase the same product SKU in different angles and orientations
Use JPG, JPEG, PNG, or WEBP with a solid or transparent background. Avoid busy or noisy backgrounds
Include a variety of lighting and shadows in your training images
Avoid cluttered images where the product is not the main focus
Once you've imported your product images, click on “Train” to train a custom AI model that understands how your product looks under different scenes and conditions. After a few hours, you’ll receive an email indicating the training has completed, and you’ll be able to use this product for AI product photography with advanced harmonization.
Filtering and searching assets
Assets can be easily retrieved using filtering and natural language search.
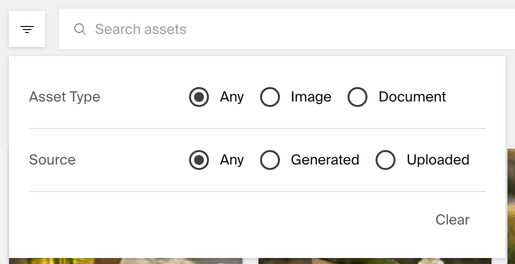
Filtering: After clicking the filter icon, you can filter your assets by asset type (image, document, etc.) and source (generated or uploaded).
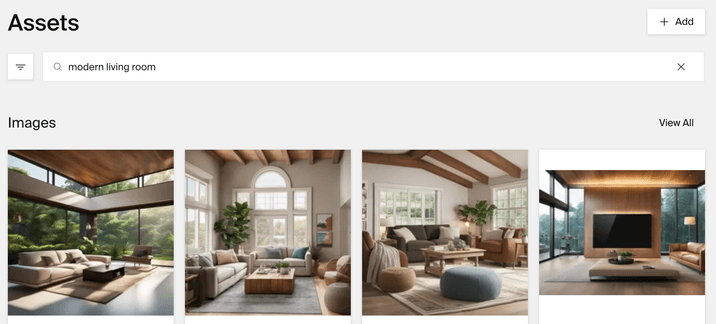
Searching: Our natural language search allows you to find assets using keywords (no metadata tagging or file naming system required). You can enter basic keywords about the topic such as “beverage can,” “beach,” and “buyer guide.” You can also search for colors, products, blog content, and file types (e.g. "PDF"), and Typeface will retrieve the asset.
Using assets
All Typeface AI templates let you use (and import) assets on-the-fly. There are three ways you can do this.
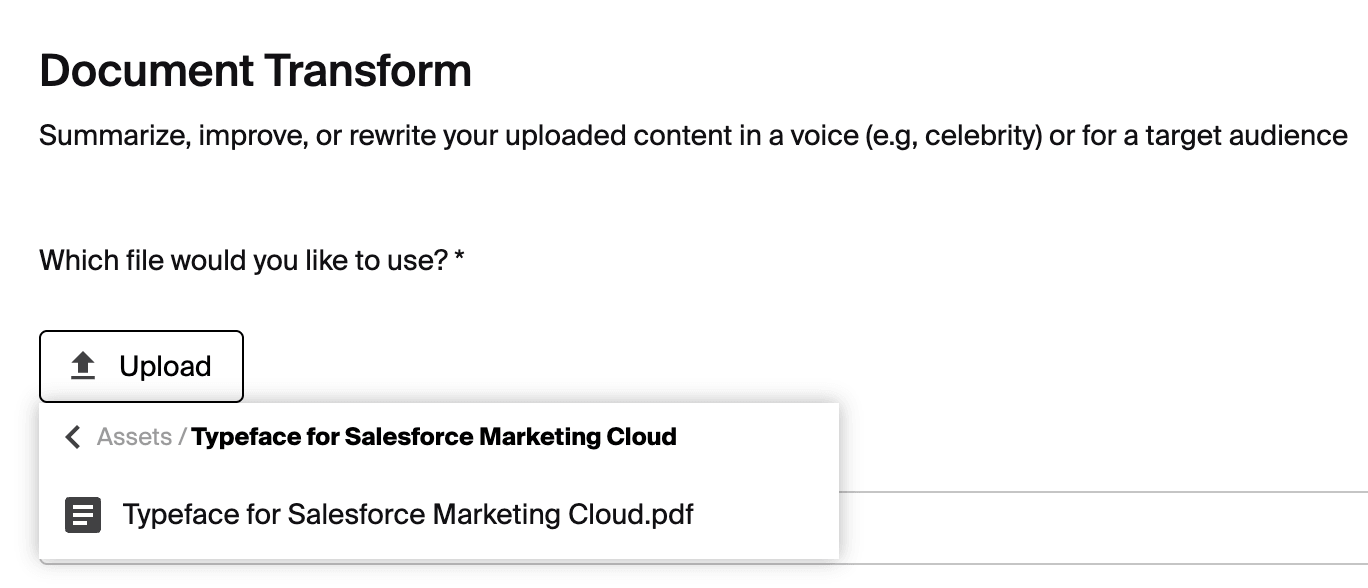
Using a text asset in Document Transform
Document Transform allows you to repurpose your written documents into any desired format, such as a blog post or email announcement. To add in a text file, switch the “Are you using a URL?” toggle off and upload your PDF or Word document.
From there, you enter a prompt on how you’d like to rewrite the content.
Using an image asset in templates
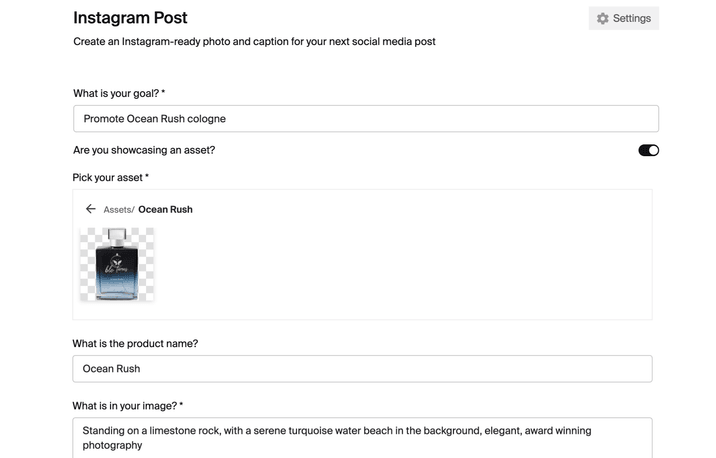
Many templates have the option to showcase an asset. Simply turn the asset toggle on and pick your asset. Since Typeface already understands which product you are using, the start of your prompt will be in reference to your product’s placement. Common ways to start your prompt include: “on,” “next to,” “with,” and “surrounded by.”
Using an image asset in Image Studio
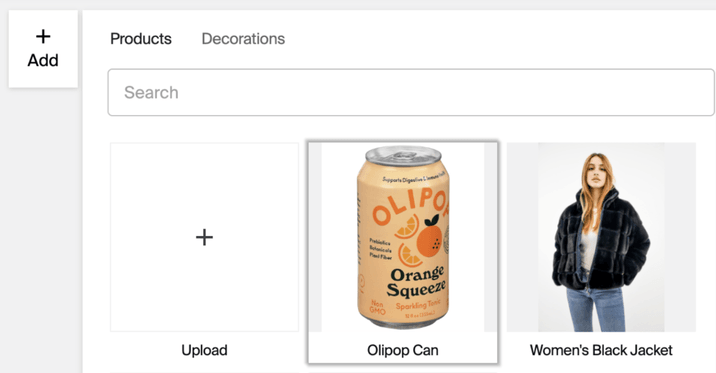
If you want greater control over the particular size and placement of your image assets, go to the Image Studio. Here you can use or import your image assets by clicking the “+ Add” button at the top left. Image studio will display all the uploaded image assets in your team. Learn more about how to use Image Studio.
Try it out
Get started on adding and using your first asset. To learn the topics covered in this guide, try out the following:
Go to the “Assets” tab and import an image showcasing your product or service.
Create a new document. Add an image block or open Image Studio to use the image.
Go into the Document Transform template. Import a PDF or Word document or insert a URL you’d like to repurpose or summarize.
Now you’re ready to start using your assets to generate content!
FAQs
How many images do I upload to train a product?
Upload 10-15 images of your product in different angles and lighting with a solid or transparent background for training.
What happens when my primary product image (with the background removed) looks inaccurate?
Hover over your primary product image and click on the edit icon. This allows you to edit the mask of your image.
Need more help? Contact support@typeface.ai.

Next Article
AI product photography
Typeface’s Image Studio mimics professional photoshoots at a fraction of the cost. Using Image Studio for AI product photography gives you control over product placement and 50+ decorations to spruce up photos.
Read more